How to tag a detected face
When a person face is automatically detected, assigning a person is straightforward.
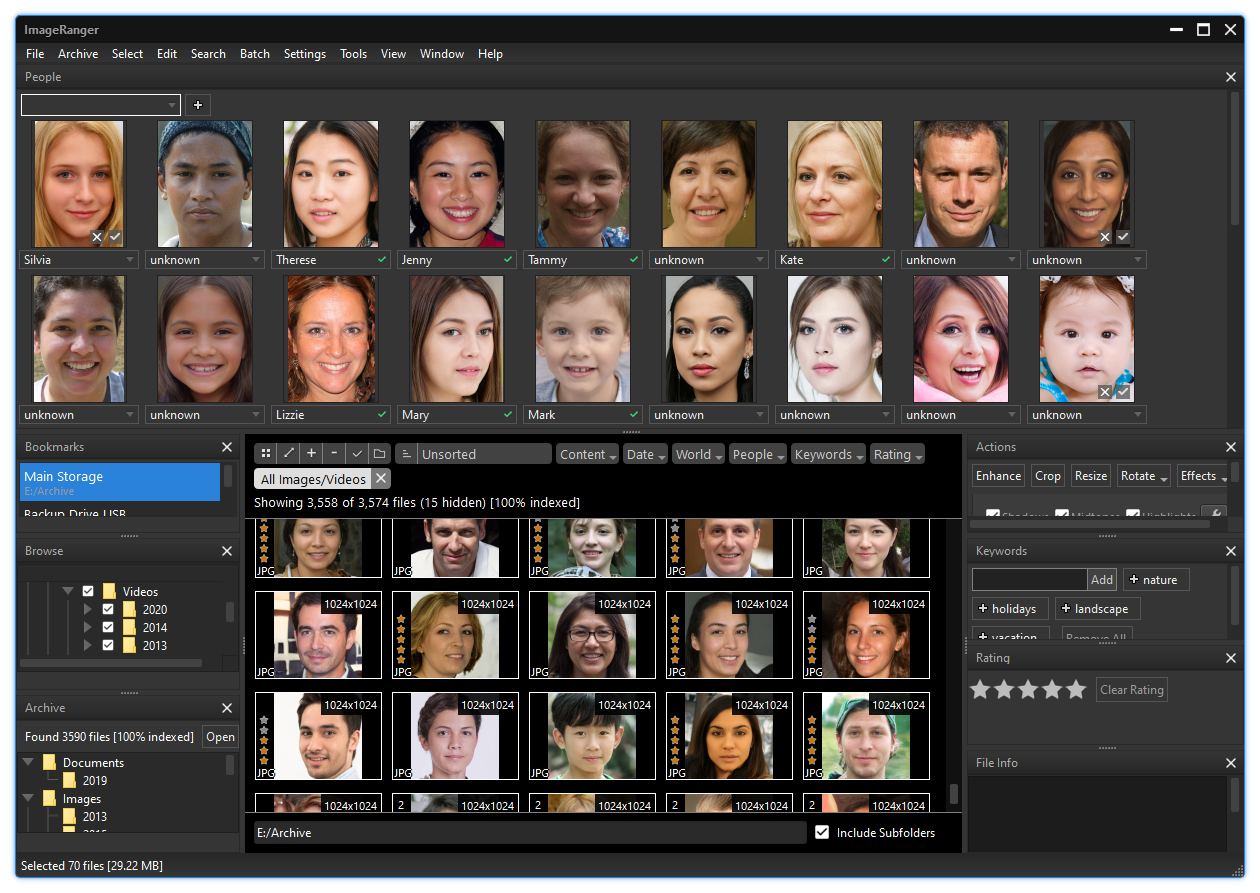
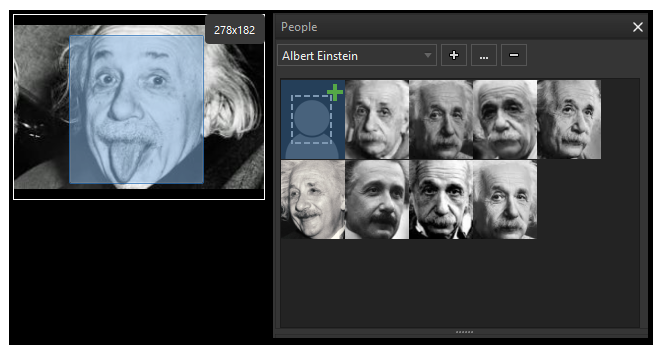
Select one or multiple images to get results of the face detection shown on the People panel:
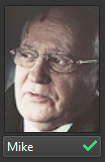
A manually tagged face is shown with the green check icon:
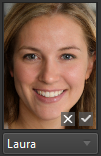
An automatically recognized face is shown with the white reject / check icons:
Pressing the white check button will confirm the result of the face recognition.
Once a different person is selected, the face tag information is written directly into the image file using EXIF/XMP meta data sections ImageRanger shows it with a small green check icon.
Bulk approval / rejection
To quickly approve or reject results of the automatic face recognition use the buttons in the bottom of the people panel
How to quickly tag multiple faces of a same person
There is a quick way to tag multiple faces for a selected person.
Select a person on the People panel.
Click on the Add Sample Tool.
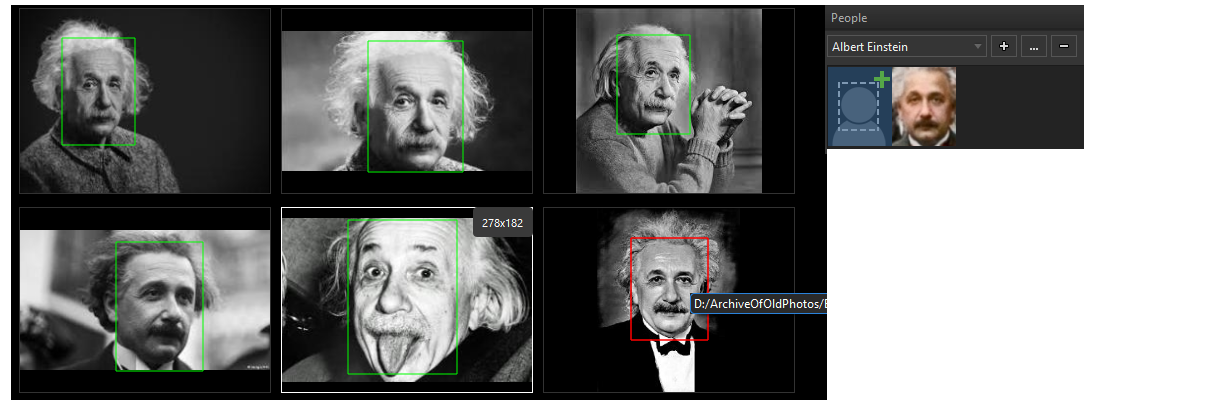
When the Add Sample Tool is active, all detected faces are shown directly on the thumbnail images.
All faces in the green boxes are already manually tagged.
Faces in the red boxes are not yet manually tagged.
Clicking on a face on any of the images will tag this face to a selected person.
How to manually mark a new face
When a face is not detected automatically, it is still possible to manually mark and tag a new face on an image.
1. Select a person, whose face needs to be manually marked.
2. Choose Add Sample Tool by clicking on the icon shown below.
3. Hold ALT key on the keyboard and draw a rectangle over the face to mark a new face on an image.
If new face is correctly marked, a new face sample will be added.
To override an incorrectly marked face, repeat the process.
Alternative way to mark a new face
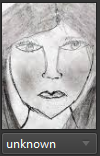
Use Tools > Mark Undetected Faces... to turn on face marking tool.
This tool allows to manually mark faces on various images.
Simply outline an area of an undetected face, like it is shown above.
When this tool is used, a new face tag with 'unknown' person name is written directly into the image metadata.
How to discard a false face detection
False detection may happen when software mistakenly detects undesirable objects as real human faces.
Also when ImageRanger imports corrupted face tags, made in other software, the faces might be incorrectly placed.
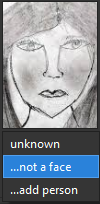
To disable a single face detection mistake, use "...not a face" item in the person selection box. The discarded faces are hidden and never show up.
If a face was mistakenly manually discarded, it is possible to revert this manual operation and enable this face detection again.
Choosing View > Show Discarded Faces from the top main menu will enable showing of all previously discarded faces.
When a discarded face is shown on the screen one can revert the setting by choosing an appropriate person name.
How to clear EXIF / XMP face tag information
Some third-party software applications can write face tag information incorrectly into your image files.
To reset previously written data, select one or multiple files and choose Tools > Clear Face Tags from the main ImageRanger menu.