ImageRanger does not require users to store images in one central archive location. However, when the Archive location is configured, the Import features will automatically organize images and help with solving duplicate file conflicts.
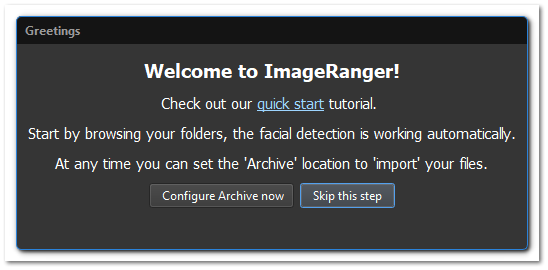
When ImageRanger is started for the first time, the archive configuration dialog will pop up with instructions on setting up a primary archive location.
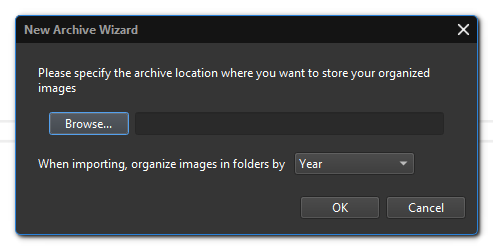
The Archive location is the main folder where all files are automatically copied and arranged in folders, each time when Import command is used.
To setup a new Archive location, choose the folder using the Browse button and specify the rule for Importing files.
Once the archive location is selected, the folders appear in the Archive list in the main window.
When Importing files, ImageRanger will create a new folder structure inside the root Archive location. According to the folder naming setup, the new folders inside the archive location may be strucured in several ways, for example by image capture time or capture location.
If custom template is selected, the following special sequences will be replaced with the actual values:
%tttt
file type
%e
file extension
%yy
the year as two digit number(00 - 99)
%yyyy
the year as four digit number
%c
nearest city of the image capture location
%l
land of the image capture location
%d
day without leading zero
%dd
the day as number with a leading zero(01 to 31)
%ddd
the abbreviated day name, e.g. 'Mon' to 'Sun'
%MM
the month as number with a leading zero(01 - 12)
%MMM
(the abbreviated month name, e.g. 'Jan' to 'Dec')
%MMMM
the long month name, e.g. 'January' to 'December'
Once the importing is finished, the number of imported files is shown in the status bar.
To automatically delete files after importing set "Delete files after importing" option in the program settings.
The archive location can be changed at any time using the Set Archive Location... menu item from the Archive top menu.