Use the Import functionality to automatically organize files in specific folder structure.
In order to use the Import operation, the Archive location and Import settings have to be configured. To setup these settings, choose Archive > New Archive Wizard in the top application menu.
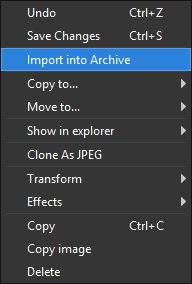
The Import operation can be started using the context menu or by choosing the Archive > Import Selected Files from the top application menu.
When Importing, ImageRanger will copy the selected file(s) into the configured Archive location and create new folders if necessary.
Two major file conflicts may happen when importing files: duplicate files and duplicate file name conflicts.
When a duplicate file is already present in the archive location
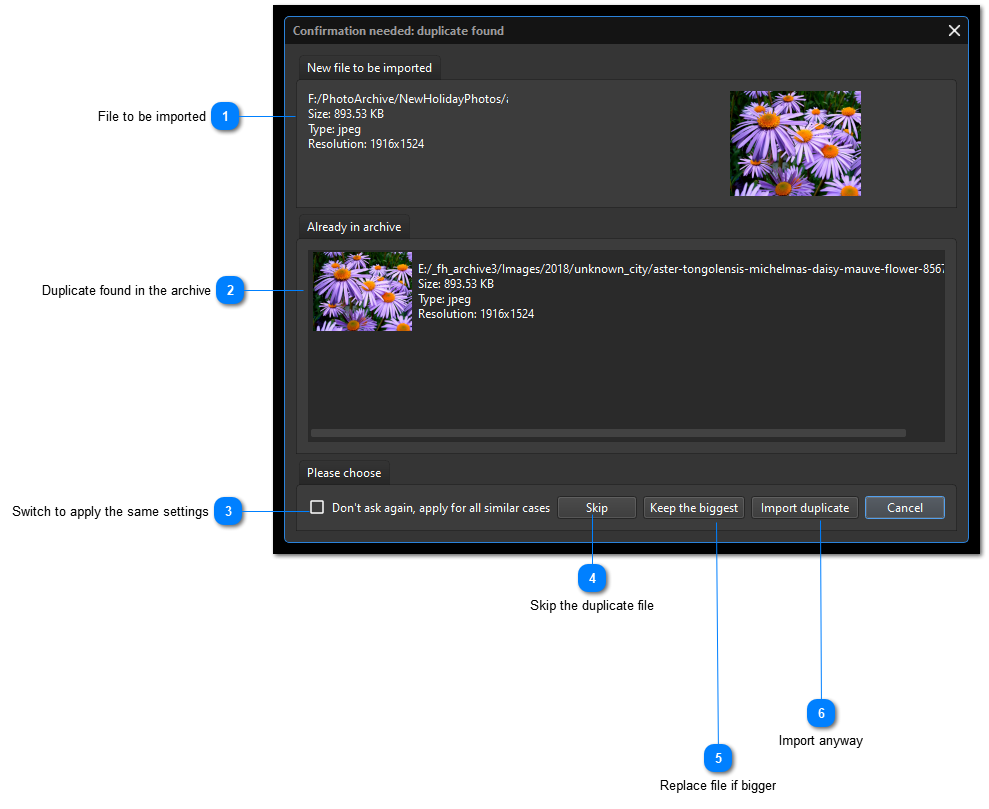
If ImageRanger finds a similar file in the archive location, the following confirmation dialog will pop up.
The confirmation dialog shows the information about already existing files and the new file being imported.
To minimize the number of duplicates in the archive, The Keep only the biggest file option can be used. In this mode, ImageRanger will compare the file sizes of the new file and the existings files.
The biggest file will be imported and the smaller sized files are automatically removed from the archive.
When a file with the same name is already present in the archive
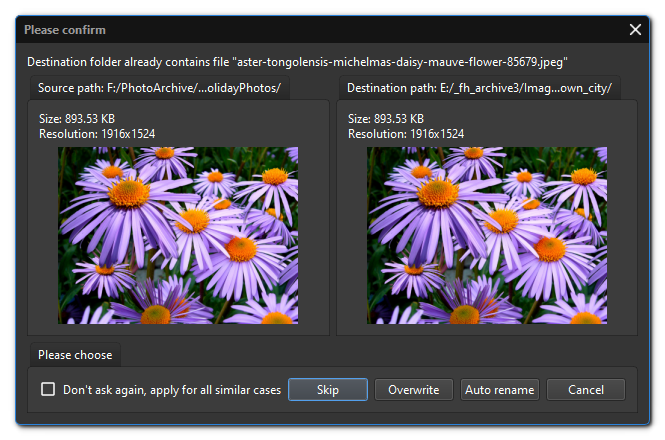
When archive location already contains a file with the same name, the regular file confirmation dialog will pop up:
File to be imported
Here is the information about the file being imported
When this mode is used, ImageRanger will automatically replace existing duplicate files if the bigger file is imported. In this mode only the unique and biggest files will remain in the archive.